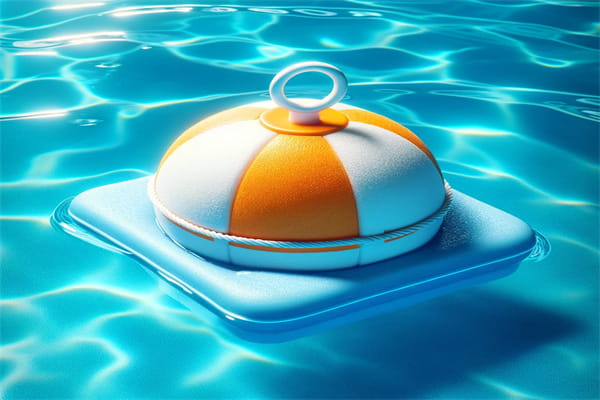
Maintaining proper chlorine levels is crucial for keeping your pool clean and safe for swimming. One of the most effective tools for this task is a chlorine floater. Chlorine floaters help to distribute chlorine evenly throughout your pool, ensuring consistent sanitation with minimal effort. In this article, we will guide you through the process of installing a chlorine floater, from preparation to installation, to ensure your pool remains sparkling clean and sanitized.
Ⅰ.Understanding Chlorine Floaters
A chlorine floater, also known as a floating chlorine dispenser, is a device designed to hold and dispense chlorine tablets in your pool. The floater releases chlorine gradually as it floats on the surface of the water, maintaining an optimal level of chlorine to keep your pool clean and free from harmful bacteria and algae. Using a chlorine floater is convenient and cost-effective, making it an essential tool for pool owners.

Ⅱ.Preparing for Installation
1. Necessary Equipment and Materials
Chlorine Tablets: The primary component for your chlorine floater. Make sure to purchase chlorine tablets that are compatible with your floater. These tablets come in various sizes, so check the floater’s specifications for the correct size.
Gloves: Chlorine can be harsh on the skin, causing irritation or even burns. Use durable, chemical-resistant gloves to protect your hands when handling the tablets.
Protective Eyewear: Chlorine fumes can be irritating to the eyes. Wearing protective goggles will help safeguard your eyes from accidental splashes and fumes.

2. Safety Precautions
Handle with Care: Chlorine is a powerful chemical, and it’s important to handle it cautiously. Always use gloves and protective eyewear when dealing with chlorine tablets. Avoid inhaling the fumes, and make sure to work in a well-ventilated area to minimize exposure.
Read the Labels: Chlorine products come with safety instructions and usage guidelines. Carefully read the labels on both the chlorine tablets and the floater to understand any specific precautions or recommendations.
Keep Away from Children and Pets: Store chlorine tablets and the floater in a secure location, out of reach of children and pets. Accidental ingestion or contact can be dangerous.
3. Checking the Pool’s Current Chlorine Level
Test Kit: Before installing the chlorine floater, it’s crucial to know the current chlorine level in your pool. Use a reliable pool test kit to measure the chlorine concentration. These kits typically include test strips or liquid reagents that change color based on the chlorine level in the water.
Ideal Chlorine Levels: The ideal chlorine level for most pools is between 1 and 3 parts per million (ppm). If your pool’s chlorine level is below this range, the water may not be adequately sanitized, increasing the risk of bacteria and algae growth. If the level is too high, it can cause skin and eye irritation for swimmers.
Ⅲ.Step-by-Step Installation Guide
Now that you’re prepared, let’s move on to the installation process. Follow these steps to install your chlorine floater:
1.Assemble the Floater:
If your floater comes in parts, assemble it according to the manufacturer’s instructions. This typically involves snapping a few pieces together.
2. Load the Chlorine Tablets:
Open the floater and insert the appropriate number of chlorine tablets. The number of tablets you use will depend on your pool size and the current chlorine level. Be sure to handle the tablets with gloves and avoid direct contact.

3.Adjust the Settings:
If your floater has adjustable vents, set them to control the rate at which chlorine is released into the pool. This allows you to fine-tune the chlorine levels based on your pool’s needs.
4. Place in the Pool:
Gently place the floater in the pool and let it float. Ensure it is positioned in an area where it can move freely and cover the pool evenly.
5. Monitor and Maintain:
Regularly check the chlorine levels in your pool using a test kit. Adjust the floater settings or add more chlorine tablets as needed to maintain the optimal chlorine level. This will help keep your pool water clean and safe.
Ⅳ.Conclusion
Installing a chlorine floater is a straightforward process that can greatly enhance the cleanliness and safety of your pool. By following the steps outlined above and adhering to safety guidelines, you can ensure that your pool remains a refreshing and hygienic oasis. Regular monitoring and maintenance of your chlorine floater will help you enjoy a sparkling, worry-free swim all season long. Don’t hesitate to share your experiences or ask questions in the comments section below!
 Instant
Quote
 Email
Us